Usage
Note
NOTE: In the instructions it has been assumed that you have cloned and build navigation2 and turtlebot3 in ~/navigation_ws/src . If that’s not the case, please replace it by the address of ros2 workspace you intend to use
Now that all the required packages are installed correctly, it’s time we see the mw_maxl_planner in action. First let’s launch the simulation first. In a new terminal.
source /opt/ros/foxy/setup.bashsource ~/navigation2_ws/install/setup.bashexport TURTLEBOT3_MODEL=waffleexport GAZEBO_MODEL_PATH=$GAZEBO_MODEL_PATH:~/navigation2_ws/src/turtlebot3/turtlebot3_simulations/turtlebot3_gazebo/models
ros2 launch turtlebot3_gazebo turtlebot3_world.launch.py
TIP: Use killall gzserver if your gazebo does not restart
Now, in a new terminal
source /opt/ros/foxy/setup.bashsource ~/navigation2_ws/install/setup.bashexport TURTLEBOT3_MODEL=waffleexport GAZEBO_MODEL_PATH=$GAZEBO_MODEL_PATH:~/navigation2_ws/src/turtlebot3/turtlebot3_simulations/turtlebot3_gazebo/models
ros2 launch mw_maxl_planner_ros2 mw_maxl_planner_ros2_launch.py
What to expect
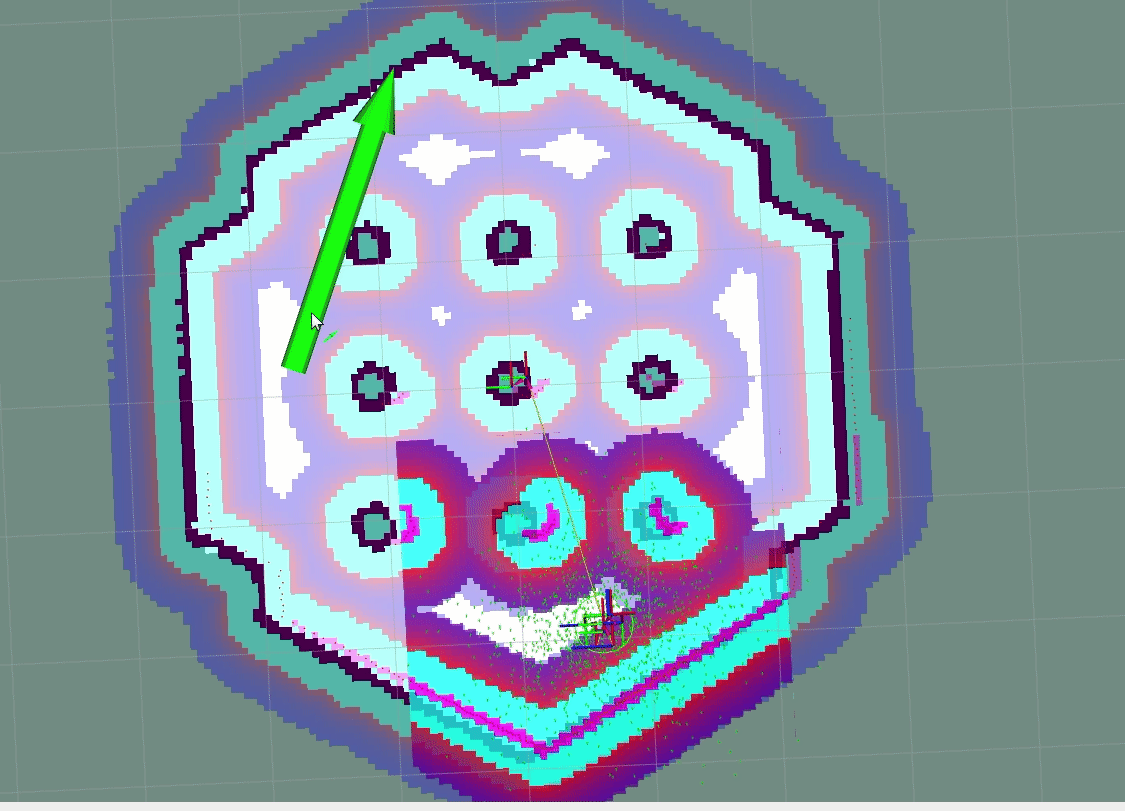
First, give the initial pose of the robot using the 2D Pose Estimate on your Rviz GUI. After this, as soon as you give a navigation goal, the robot would start its navigation in a similar manner as shown in the GIF below.
Troubleshooting
If you are having issues, make sure you have done the following
Make sure you have the
mw_maxl_plannerlibrary installed- Make sure you have sourced your workspace using
source ~/navigation2_ws/install/setup.bash
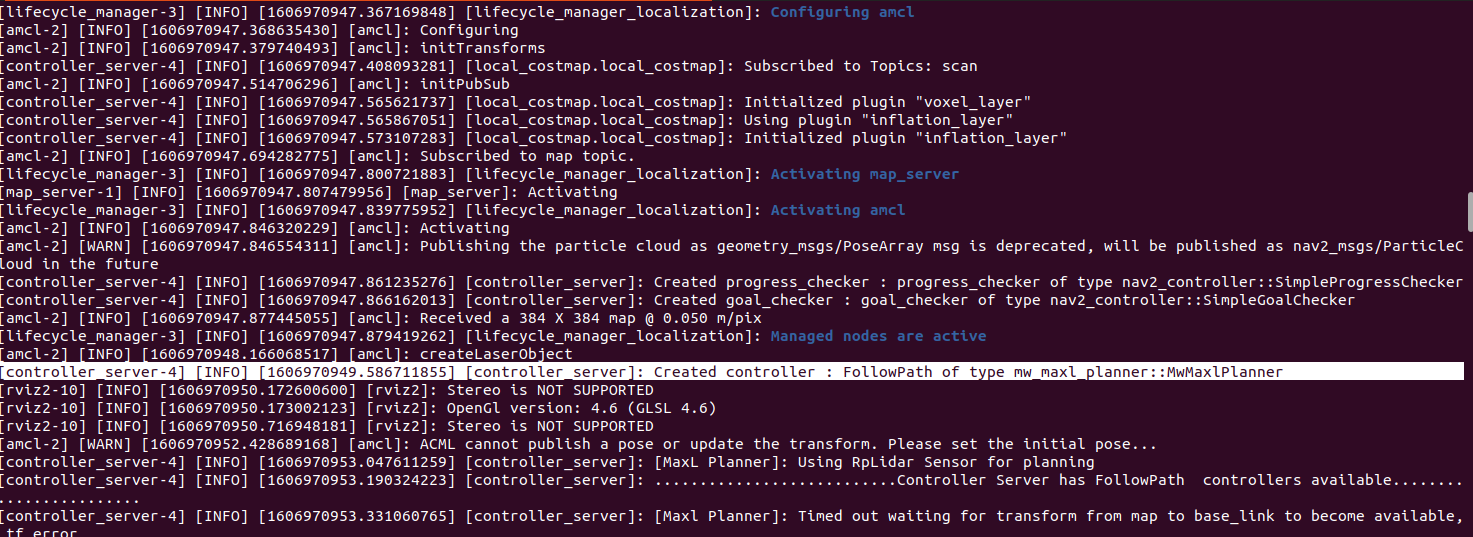
Make sure your controller plugin gets loaded during runtime. If your plugin loads successfully, you will see something similar to the picture below.
If your plugin is not getting loaded, we suggest you delete the build, install and log folder and rebuild the workspace. Make sure you source your workspace.
Make sure that the perception_pcl ( if build from source) and each of the turtlebot3 repos you cloned are on the
foxy-develbranch.